If you’ve ever wanted to create a unique and stylish collar for your furry friend, you’re in luck! Making a dog collar is easier than you might think.
Imagine being able to design a collar that perfectly matches your dog’s personality and style. With just a few simple materials and some basic sewing skills, you can create a one-of-a-kind collar that your pup will love.
Whether you want to use a fun patterned fabric or add special embellishments, the possibilities are endless. So, grab your supplies and get ready to make a dog collar that will have tails wagging with excitement!
Key Takeaways
- Consider nylon or cotton fabric for durability and safety.
- Measure your dog’s neck accurately for the appropriate size.
- Use webbing, a sturdy buckle, and proper stitching techniques for added durability.
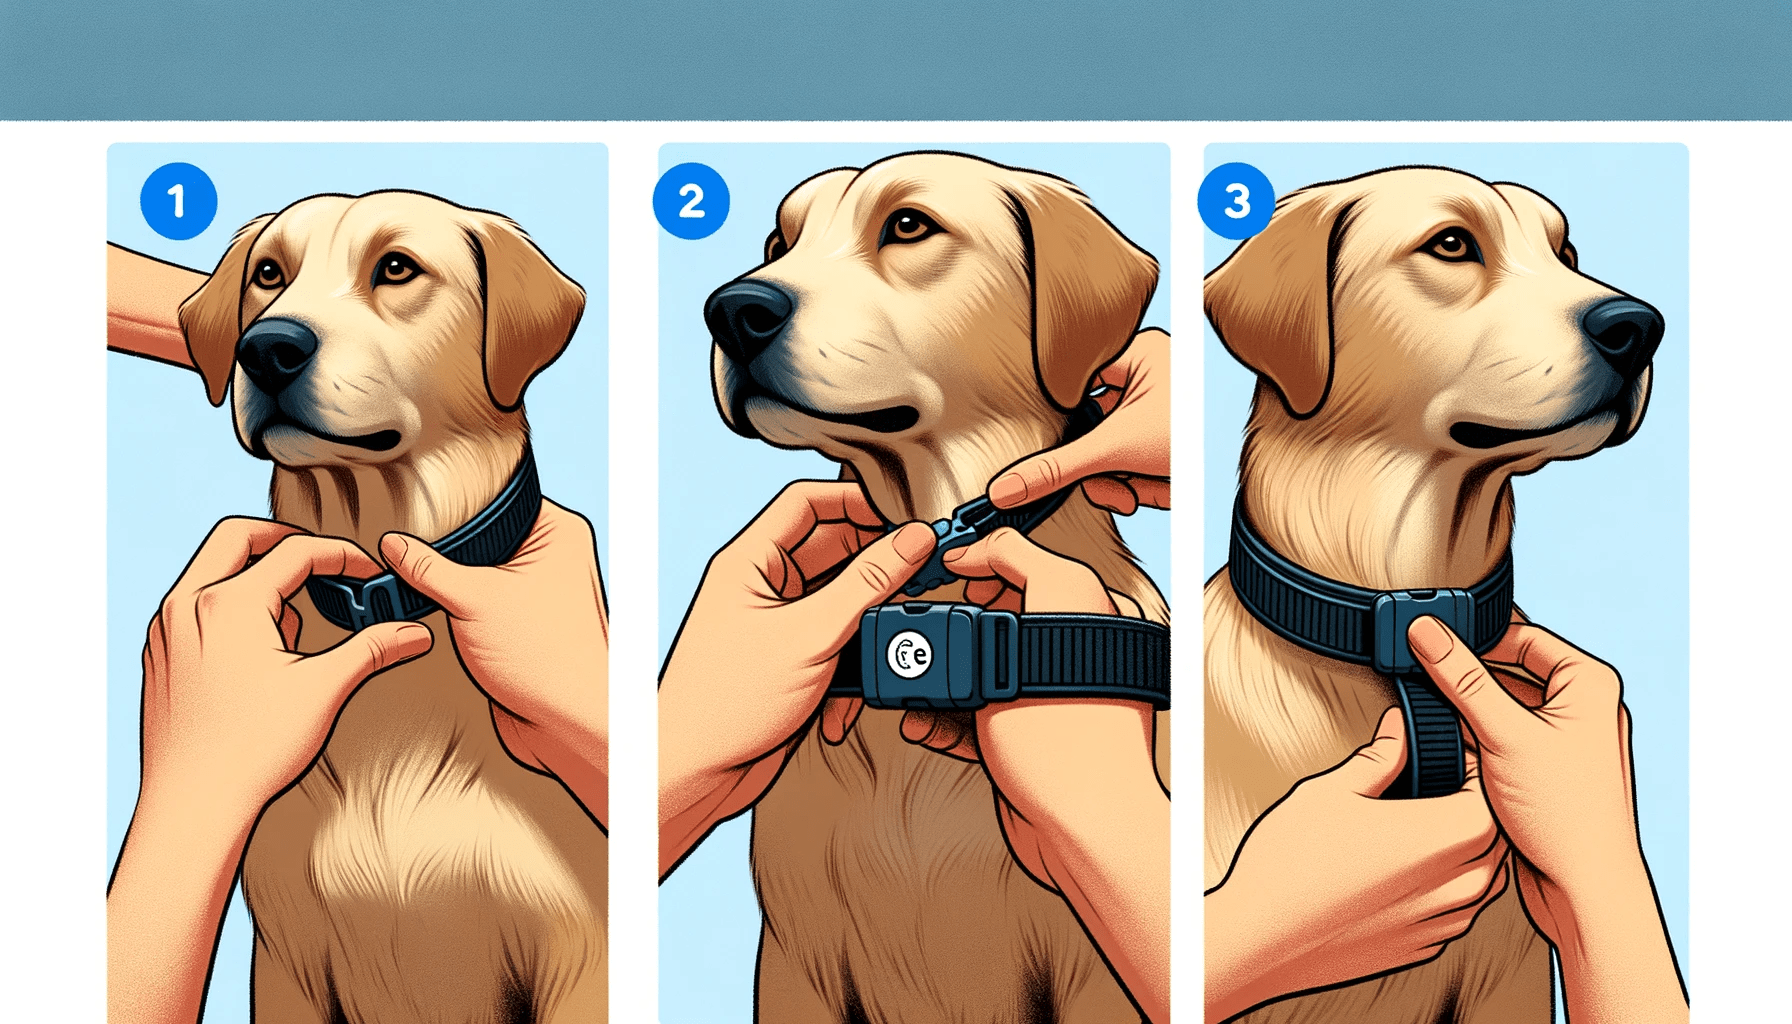
- Maintain a two-finger gap between the collar and your dog’s neck for a snug fit.
Choosing the Right Materials
To create a durable and comfortable dog collar, you need to carefully select the right materials for your furry friend. When choosing the fabric for your dog’s collar, consider nylon or cotton as suitable options. These materials aren’t only strong and durable but also safe for dogs with sensitivities and allergies. Nylon is particularly popular due to its resistance to wear and tear, while cotton offers a softer and more comfortable feel.
In addition to the fabric, the size and fit of the collar are crucial for your dog’s comfort and safety. Make sure to measure your dog’s neck accurately to determine the appropriate size. The collar should be snug enough to prevent slipping off, but not too tight that it causes discomfort or restricts breathing.
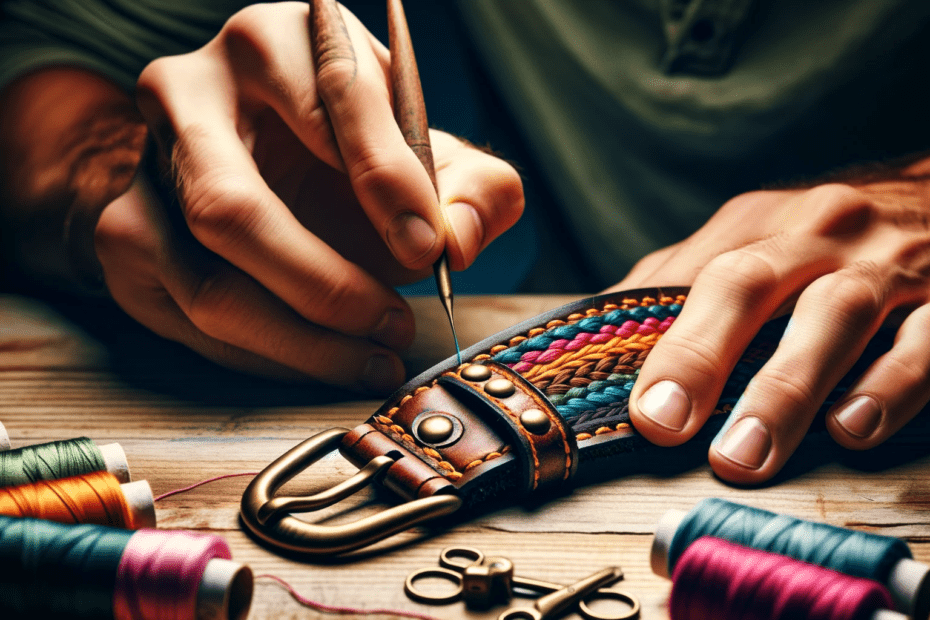
When making a custom dog collar, you can also choose additional materials such as webbing, buckle, and stitching techniques to enhance durability. Webbing, made from nylon or polyester, adds strength and stability to the collar. The buckle should be sturdy and easy to use for quick and secure fastening. Proper stitching techniques, such as triple stitching for strong seams and box stitching for added stability, ensure that the collar can withstand your dog’s activities.
Measuring Your Dog’s Neck Size
When measuring your dog’s neck size, start by using a measuring tape to accurately determine the circumference. This will ensure that the dog collar you make fits your furry friend comfortably and securely. Place the measuring tape around the base of your dog’s neck, where the collar will sit, and make a note of the measurement.
Once you have the neck size measurement, you can proceed with making the dog collar. You have a few options for materials, such as fabric strips or nylon webbing. Whichever material you choose, make sure it’s strong and durable to withstand your dog’s activities.
To create the collar, you’ll need to adjust your hardware accordingly. The hardware includes the buckle or snap closure and the D-ring for attaching a leash. Ensure that these components are suitable for the size and strength of your dog.
When assembling the collar, remember to leave enough space at the end of the collar for adjustability. This will allow you to tighten or loosen the collar as needed. As a general rule, it’s recommended to leave a two-finger gap between the collar and your dog’s neck for a snug but not tight fit.
Cutting and Preparing the Fabric
Now that you have measured your dog’s neck size, it’s time to move on to cutting and preparing the fabric for your dog collar.
Fabric cutting techniques are essential to ensure the collar fits properly and looks neat.
Additionally, fabric preparation, such as spraying with starch and using a hot iron to remove wrinkles, will improve the overall appearance of the collar and make sewing easier.
Fabric Cutting Techniques
Cut the fabric for the dog collar using the measurements provided on the chart and adjust the width as needed.
Start by cutting a strip of fabric that matches the collar size. Consider reducing the width for smaller collars. Make sure to cut the fabric with clean, straight lines to ensure a professional-looking end result.
Once the fabric is cut, trim any raw edges to prevent fraying.
Next, fold the fabric in half lengthwise, with the right sides facing each other. Use pins to secure the fabric in place.
Now you’re ready to sew the fabric using a sewing machine, making sure to backstitch at the beginning and end to secure the stitches.
Essential Fabric Preparation
To create a dog collar, begin by preparing the fabric through cutting and prepping it for sewing.
Start by measuring and cutting the fabric according to the desired collar size. Remember to account for seam allowances and any additional length needed for the collar and leash attachments. Once the fabric is cut, it’s important to prepare it for sewing.
Spray the fabric with starch and use a hot iron to remove any wrinkles. This not only improves the appearance of the fabric but also sets the seam, making it easier to sew.
Next, fold the fabric in half lengthwise and sew along the raw edges using a presser foot suitable for the fabric type. Leave one end open to turn the fabric inside out.
Trim any excess fabric and use a tool like a chopstick to push out the corners for a clean finish.
Now, the fabric is ready to be inserted with webbing and sewn into a collar shape.
Sewing the Fabric Tube
To sew the fabric tube for the dog collar, start by folding the raw edges of the fabric strip into the center and pressing them.
Topstitch on both sides of the fabric, 1/8 inch from the edges.
Then, press under 1/4 inch on the end of the strip and sew a small rectangle to hold the collar and hardware together.
Stitching the Fabric
Start sewing the fabric tube by turning it inside out to hide the stitching.
Once you have the fabric tube inside out, secure it by clipping it in place.
Take your webbing and slide it through the fabric tube, making sure it’s aligned with the seam.
Adjust the fabric for a clean and neat appearance.
Now it’s time to stitch the fabric and webbing together.
Sew a seam on each side of the collar, ensuring the thread goes through both the webbing and fabric.
Maintain the proper distance from the edge to ensure a secure hold.
Once the stitching is complete, you can cut off any excess fabric to reinforce the collar’s strength and stability.
Congratulations, you’re one step closer to having a finished collar!
Tube Assembly Process
First, fold the raw edges of the fabric strip into the center lengthwise and press. Then topstitch on both sides of the fabric 1/8 inch from the edges.
This step is crucial in the tube assembly process for making a dog collar. By folding the raw edges into the center, you create a neat and polished look for the fabric tube. Pressing the fabric helps to set the fold and ensure it stays in place.
Topstitching on both sides of the fabric, 1/8 inch from the edges, adds strength and durability to the tube. This is important because dog collars need to withstand the pulling and tugging that dogs often do.
Adding the Webbing and Hardware
Once you have measured your dog’s neck circumference accurately, it’s time to securely attach the webbing and hardware for the dog collar. To make a dog collar, you’ll need to gather the necessary materials such as webbing, hardware including a buckle and D-ring, and a sewing machine.
To begin, take the measured length of your dog’s neck and add a few inches to allow for adjustability. Cut the webbing to this length, ensuring it’s straight and without any frayed edges. Fold one end of the webbing back by one-half inch and sew it in place to create a clean edge.
Next, thread the male end of the buckle onto the webbing, followed by the triglide. Fold the webbing back through the triglide, creating a loop, and thread it through the female end of the buckle. Adjust the webbing to fit comfortably around your dog’s neck, making sure it isn’t too tight or too loose.
Now, it’s time to secure the hardware in place. Triple-stitch the buckle and D-ring onto the webbing, ensuring they’re firmly attached. Use the box stitch technique to reinforce the triglide, providing strength and stability to the collar.
Finishing Touches: Buckles and D-Rings
To attach the finishing touches to your dog collar, make sure you have a buckle and a D-ring that are suitable for the material and size of the collar.
Start by inserting the webbing through one side of the buckle, ensuring it’s threaded correctly and securely. Then, fold over the end of the webbing and insert it through the other side of the buckle, creating a loop. Pull the webbing tight to secure it in place.
Next, slide the D-ring onto the webbing, positioning it at the desired location on the collar. Fold the end of the webbing over the D-ring and insert it through the other side of the buckle, just like before. This will create another loop. Again, pull the webbing tight to ensure a secure fit.
Optional: Making a Matching Leash
You can create a matching leash using lightweight cotton twill fabric. This won’t only complement the new collar you made, but also provide a stylish and coordinated look for your furry friend.
To make the matching leash, you’ll need approximately 1 yard/meter of the same fabric used for the collar. Cut the fabric into a long strip, measuring about 6 feet in length.
Next, feed one end of the fabric through the slot of the leash hook and fold it over by about 2 inches. Sew this folded end in place to secure the leash hook onto the fabric. This will ensure that the hook stays securely attached to the leash.
Now, you have your matching leash ready to be used! Simply attach the leash to your dog’s collar by buckling it onto the D-ring. Adjust the length of the leash as needed to suit your walking preferences.
If you have a smaller dog, you may want to consider making a slightly shorter leash. This will give you better control and prevent any tangling or tripping hazards. Just make sure to adjust the length of the fabric accordingly before sewing it onto the leash hook.
Remember to always check the fit and comfort of the leash before using it for extended periods of time. And if you want to add some extra flair, consider incorporating reflective thread for visibility during nighttime walks or attaching decorative charms or tags using Wonder Clips.
Have fun creating your matching leash!
Frequently Asked Questions
How Do You Make a Homemade Dog Collar?
To make a homemade dog collar, start by choosing the right size and type of fabric. Follow a step-by-step guide, adding personalized touches like a name tag. Remember safety precautions and explore different fabric options for a unique DIY design.
What Is the Best Material to Make Dog Collars?
To make the best dog collar, choose a durable and stylish material like nylon or leather. If you’re eco-conscious, explore eco-friendly options. Small breeds may benefit from fabric collars, and adjustable collars are great for growing puppies. Don’t forget reflective materials for nighttime safety!
What Hardware Do I Need to Make a Dog Collar?
To make a dog collar, you’ll need different types of buckles, the right size for your dog, personalized tags, decorative ribbons for a unique design, durable sewing techniques, leather options, and safe leash attachment.
How Do You Make a Homemade Dog Cone?
To make a homemade dog cone, try alternatives like inflatable cones or soft fabric cones. DIY tutorials are available online. Homemade cones provide comfort and can be personalized with fun designs. Consider smaller cone alternatives for small breeds.
Conclusion
Congratulations! You’ve successfully crafted a personalized and stylish dog collar for your furry friend. With the right materials and a little creativity, you’ve created a collar that not only fits perfectly but also showcases your pet’s unique personality.
Now, every walk will be a fashionable adventure, and your dog will be the envy of the neighborhood. So, grab the leash and enjoy the compliments that are sure to come your way!